The day the builder hands you the keys feels like the end of construction. Legally and practically, though, it is the start of the period in which you find out how well the house was built. By signing the handover protocol you confirm the condition in which you accept the house, and the warranty period runs from that day. Whatever you leave out of the protocol will be harder to claim later. This article is a close-up of the overall process of building a house in Slovakia and focuses on one day and the years that follow it.
What is the handover and how does it differ from occupancy approval?
Building handover is a contractual act between you and the contractor. The firm uses it to fulfil its obligation under the contract for work, and you use it to accept the work. The result is the handover protocol: the date, the scope of accepted work, the defects and unfinished items found, with deadlines for fixing them, and a list of the documents handed over. The authorities are not present and do not need to be.
Occupancy approval (kolaudácia) is a public-law procedure instead. The building authority checks whether the building matches its permit and is fit for use. It does not care whether the floor tiles have hollow spots or whether the sealant at a window is cracking. A house can pass occupancy approval and still carry dozens of defects that remain between you and the firm. One does not replace the other.
In practice the handover usually comes before occupancy approval, because part of the documentation the authority wants to see is handed to you by the contractor. I cover the procedure before the authority in the article Occupancy approval step by step; this one is about your relationship with the firm.
| Aspect | Building handover | Occupancy approval |
|---|---|---|
| Who takes part | The client and the contractor, ideally with the construction supervisor and the architect | The client and the building authority, possibly other concerned bodies |
| Assessed against | Contract for work, design documents, technical standards, the agreed specification | The building permit and the requirements for safe use |
| Outcome | Handover protocol listing defects and unfinished items | Occupancy certificate (kolaudačné osvedčenie) |
| What it triggers | Start of the warranty period, payments due under the contract, care of the house passing to you | Legal use, a house number, entry in the land registry |
| Cosmetic defects | Recorded and fixed | Usually irrelevant |
Apparent and hidden defects: why are they recorded differently?
An apparent defect is one you can see during an ordinary inspection or find with a simple test: a crack in the render, a scratched window frame, a door that does not close, a missing skirting board. These belong in the protocol. If you accept the house without reservation and leave an apparent defect out, the contractor will later argue that it was caused by use, and your position will be weak.
A hidden defect could not be found at handover. Damp that appears only in the first winter, mould in a corner by the balcony, tiles that come loose after the first heating cycle, or a crack that opens once the building settles. These are not written into the protocol. They are claimed during the warranty period, without undue delay once you discover them.
The protocol should separate one more category: unfinished items. A missing window sill is not a defect but incomplete work. The same rule applies to both, though: each item needs a description, a location, a deadline for fixing it and the signatures of both parties. Minor defects that do not prevent use do not normally stop the handover. Defects that do prevent use give you grounds to refuse it, and the contract should spell out the conditions for refusal.
How do you prepare for the handover and who should attend?
A handover is not a stroll around the house with the site manager. The site manager works for the contractor, and his job is to hand the work over. On your side there should be the construction supervisor, who followed the build and knows what was covered up and where the problems were. If I designed the house, I attend as the author of the design: I check details, materials and finishes against the documents, not electrical inspections or pressure tests.
Before the date, ask for the list of documents the firm will hand over and read the entries in the construction diary. If it records problems during the build, look at those spots specifically at the handover. Practical rules:
- Daylight, and ideally a look after rain. Daylight shows unevenness and cracks; rain shows where water runs on the terrace and around the windows.
- Enough time. For a family house, plan for several hours, not half an hour before the crew leaves.
- Tools. A two-metre straightedge, a spirit level, a torch, a folding rule and a phone for dated photos.
- Design documents in hand. You are checking against the documents and the contract, not against an impression.
- No signing under pressure. If you cannot agree on how to record a defect, write in the protocol that the contractor does not accept it. A signature with a reservation is better than one without.
Which defects should you look for during the inspection?
The following defects recur so regularly on Slovak family houses that I check them at every handover.
Render cracks and missing joints
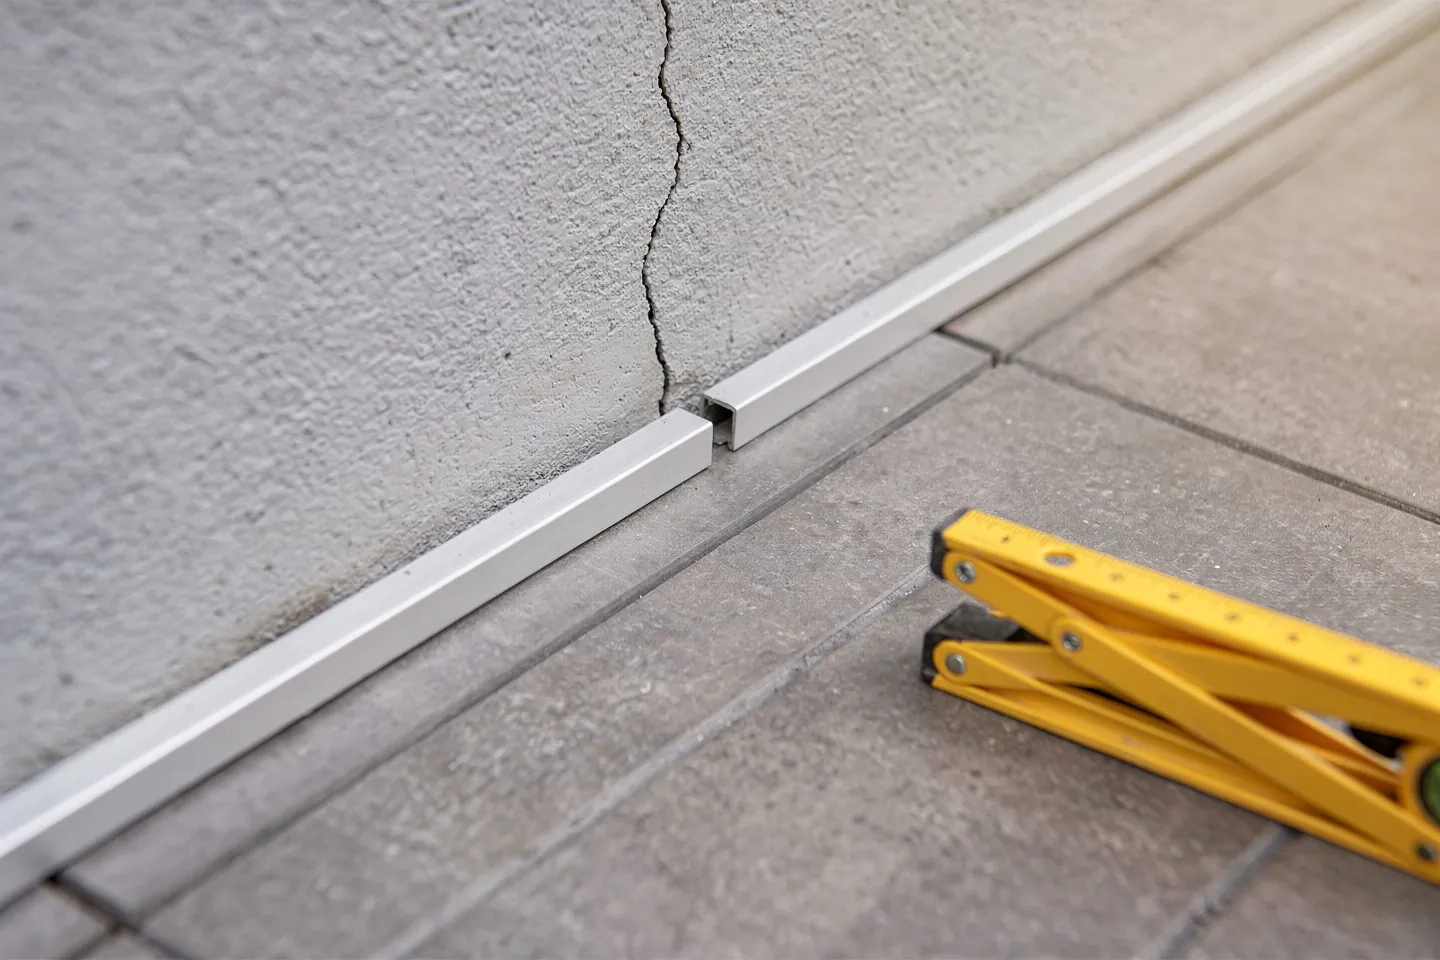
The most common are diagonal cracks running from the corners of windows and doors. They appear where the insulation system lacks diagonal mesh reinforcement at the corners of openings. The second type are vertical or horizontal cracks where different materials meet, on large surfaces without a control joint, or where a structural expansion joint was not carried through the insulation and render. A hairline crack in thin-coat render need not be a structural problem, but it lets water in and starts the decay of the facade. Record the location, the length and the approximate width, and photograph the crack with a rule beside it.
Terrace and balcony edges without a drip edge
Water running off a terrace or balcony has to drip clear of the facade. If the slab edge has no drip edge, meaning flashing or a profile with a drip nose, water creeps along the underside of the slab and down the render. The result is dark streaks, peeling render, frost-damaged adhesive under the tiles and a damp soffit. Look at the slab edge from below, check the fall away from the house and pour a bucket of water on the terrace: it must not stand in puddles or run towards the threshold.
The balcony slab as a thermal bridge
A concrete balcony slab cantilevered from the floor slab without a structural thermal break element conducts heat outwards like a radiator fin. At a summer handover you cannot see it, which makes it a typical hidden defect. It shows up in the first winter as a cold floor by the balcony door, condensation and mould in the corner below the slab. If the design specified the element, check in the diary and in the construction photos whether it was installed. A thermal imaging survey in the first heating season is a cheap way to get evidence while the warranty still runs.
Sealant joints on the facade and at windows
Sealant joints at windows, sills, flashings and where the facade meets other materials are often done last and in a hurry. Check that the sealant has not torn away from one side, is not cracked, runs continuously, and that the external sill has side end caps that keep water out from under the render. From inside, look at the window connection joint: damp patches in the reveal after rain signal that the seal is failing.
Screed and tiles
Tapping, for example with a screwdriver handle, finds hollow spots: a hollow sound means the tile is not fully bedded and will crack sooner or later. Use the two-metre straightedge to check floor flatness. Make sure there is a perimeter joint along the walls and that the joints in the screed continue through the tiling, otherwise the tiles will crack right above them. In the bathroom, check the shower falls to the drain and that the flexible sealant in the corners is continuous.
| Location | What to check | How | Defect type |
|---|---|---|---|
| Facade at openings | Diagonal cracks from window and door corners | Close look, photo with a rule | Apparent |
| Structural expansion joints | Whether they run through the insulation and render | Comparison with the design | Apparent |
| Terrace and balcony | Drip edge, falls, puddles | Edge seen from below, bucket test | Apparent and hidden |
| Balcony slab | Thermal bridge interrupted | Diary, construction photos, later thermal imaging | Usually hidden |
| Windows and sills | Sealant, sill end caps, damp in the reveal | Look from outside and inside, ideally after rain | Apparent and hidden |
| Tiles and screed | Hollow spots, flatness, joints above screed joints | Tapping, two-metre straightedge | Apparent and hidden |
How do you document and claim a defect during the warranty period?
The warranty period runs from acceptance of the work. If you signed the contract as a private individual under the Civil Code, the law sets a three-year warranty period for a building. Under a contract governed by the Commercial Code the length is negotiated, and in both cases the contract can agree a longer one. What you signed is what counts. The claim procedure:
- Document how the defect shows. Dated photos, a wide shot and a close-up with a rule, the day you discovered it and how it changes over time.
- Describe what you see, not why it happened. "A damp patch in the living-room corner below the balcony slab, about the size of a palm" is a better claim than your own diagnosis. Finding the cause is the contractor's job.
- Claim in writing and without undue delay. A registered letter or an email with delivery confirmation, referring to the contract and requesting that the defect be remedied.
- Propose a date for an inspection. Insist on a written record of it, even if the contractor does not accept the defect.
- Keep all correspondence. In a dispute about the cause, an expert opinion decides, and it works with what has been documented.
Do not wait until the end of the warranty period to report everything at once. A defect that gets worse causes further damage, and the contractor will argue that you could have prevented it by reporting it in time.
Why should the contract include retention money?
Retention money (zádržné) is the part of the contract price that the client keeps after acceptance and releases only once agreed conditions are met. It is the most effective tool for getting the firm to come back after the keys are handed over. Without it, a claim is just a request. With it, the claim becomes a conversation about money the firm has not yet received.
The amount and the release terms are a matter of agreement. A two-stage model is common: one part is released once the defects in the handover protocol are fixed, the rest after an agreed period with no open claims. Some firms offer a bank guarantee instead of retention. The contract should set the amount, the release conditions and what happens if the contractor fails to fix a defect by the agreed deadline, for example the right to have it fixed by another firm at the contractor's cost. All of this is negotiated before the contract is signed, not at the handover.