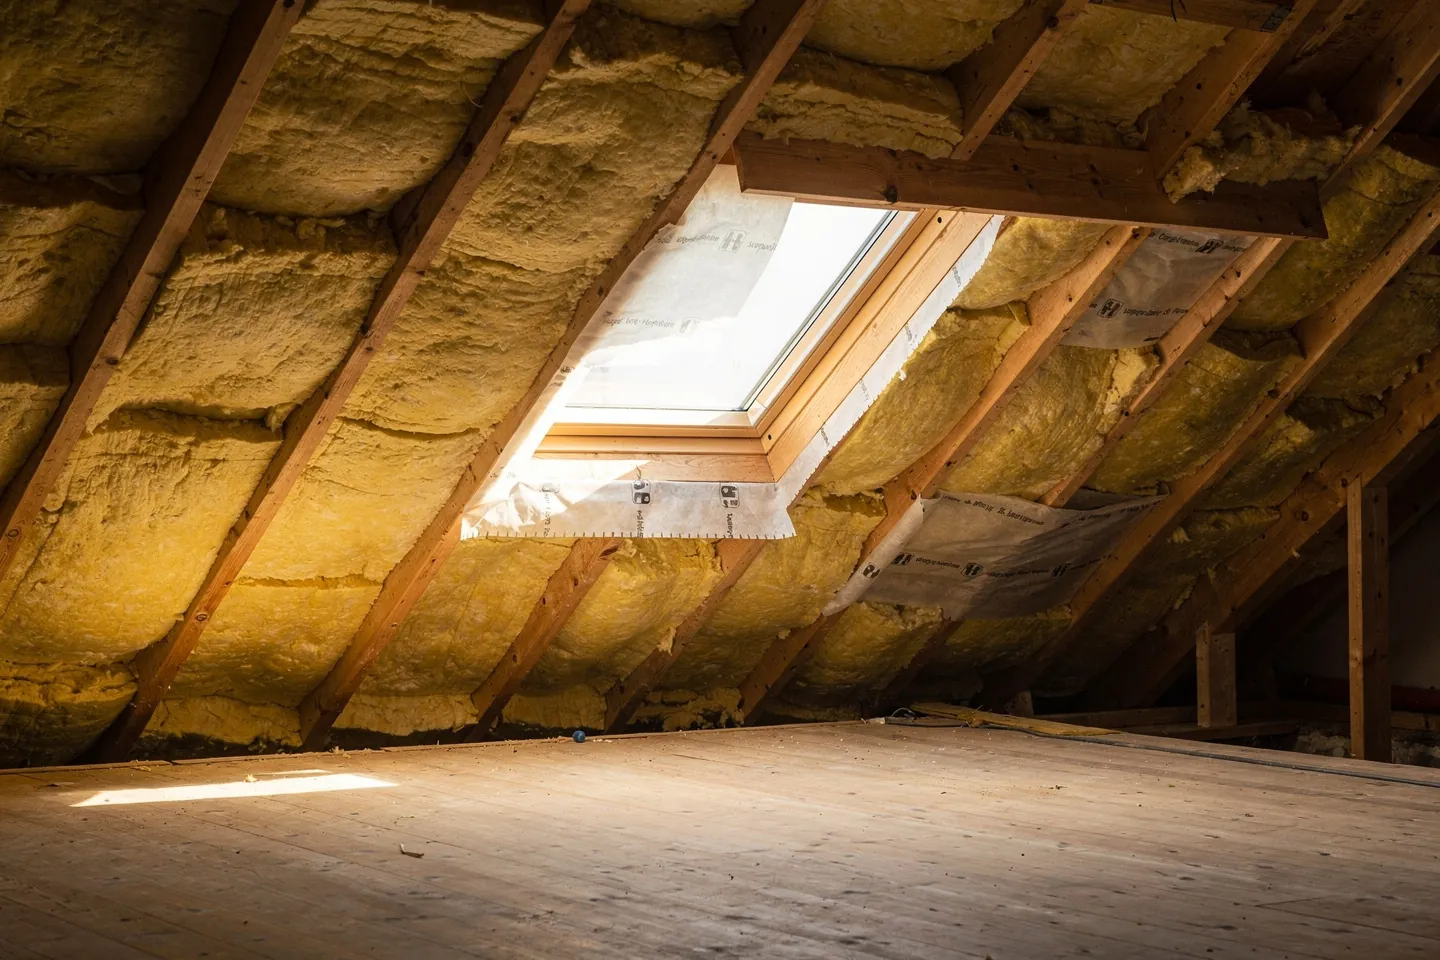
In the renovation of an older house the roof is usually the first surface where adding insulation pays off. Warm air rises, the original insulation in the loft is thin or missing, and the structure is easier to reach than the walls. It is also the place where the moisture balance is easiest to get wrong: roof timber, insulation and membranes form a build-up that forgives less than it seems to. This article walks through the decisions in the order I make them with a client: where the insulation goes, which build-up to choose, what to make it from and what to avoid.
A heated attic, or an insulated ceiling under the loft?
The first question is not about material but about where the boundary of the heated space will be. If the loft is not lived in and there is no plan for that, the cheapest and also very effective answer is to insulate the ceiling below it. The ceiling area is smaller than the area of the roof slopes, the insulation can be laid at a generous thickness regardless of rafter depth, and the roof structure stays in a cold, ventilated space where it is comfortable. This is a classic cold roof.
On a timber beam ceiling the insulation goes between the beams and over them, for example mineral wool in two layers with staggered joints. The other route is to blow loose-fill insulation across the loft, which also fills uneven spots and the corners at the wall plate. Plan a walkway to the chimney and roof penetrations, raised above the insulation so nobody compresses it, and an attic hatch with a perimeter seal. Below the insulation there must be an airtight layer. Old plaster on reed lath tends to be cracked, and warm moist air flows through it straight into the insulation.
If the attic is to be lived in, the envelope boundary moves into the roof slopes and the project becomes more complex, often with structural and permitting questions that belong to attic conversion. The half-way solution, an insulated ceiling plus a little insulation in the slopes above an occasionally heated room, combines the drawbacks of both approaches.
Between, under or over the rafters?
In a habitable attic the insulation can sit in three positions, and in practice they are often combined. Rafters in an older roof are usually shallower than the insulation thickness today's thermal requirements call for, and every rafter is also a thermal bridge that runs through the full depth of the insulation.
| Insulation position | When it makes sense | Advantage | What to watch |
|---|---|---|---|
| Between rafters | Almost always, as the base layer | Uses space that already exists | Thickness limited by rafter depth, rafters remain thermal bridges |
| Under rafters | Renovation from inside, covering stays | Breaks thermal bridges through the rafters and creates a service void for wiring | Takes headroom, which is what attics lack most |
| Over rafters | When the roof covering is replaced | Continuous layer without thermal bridges, rafters can stay exposed inside | Raises the roof, changes the eaves, gable, flashings and chimney junction |
Over-rafter insulation is the technically cleanest solution, but it makes sense almost only when the roof is being opened anyway. If the covering is at the end of its life, there is no underlay beneath it or the original roofing felt has disintegrated, that is the right moment. Scaffolding, stripping the covering and new battens are paid for once, and the roof gets a new build-up from rafter to covering. The roof grows by the insulation thickness, which changes the height of the eaves and the ridge. Whether that is a change to a building requiring a procedure under Building Act No. 25/2025 Coll., and what the zoning plan says about roof height and shape, I check with the building authority before any material is ordered. If the covering will last for years yet, it is more sensible to insulate from inside between and under the rafters and leave the over-rafter layer for the next re-roofing.
Cold or warm roof, and what it means for vapour?
In a cold roof there is a ventilated space above the insulation that carries moisture away. Typically it is the loft above an insulated ceiling, or older build-ups with a ventilated gap above insulation between the rafters. In a warm roof the insulation fills the full rafter depth and a vapour-open underlay lies directly on it. Only the gap under the covering, above the counter-battens, is ventilated.
Both follow the same rule for the order of layers: tighter inside, more open outside. Vapour resistance, expressed as the equivalent air-layer thickness Sd, should fall towards the outside, roughly by a factor of five or six across the build-up. On the inside face there is therefore either a vapour barrier, which practically stops diffusion (polyethylene film sits around 100 m), or a vapour retarder at roughly 0.2 to 10 m. The retarder lets a small, calculated amount of vapour through and leaves the build-up a reserve for drying inwards. Variable membranes change their resistance with humidity: tight in winter, open in summer.
In a renovation, what sits above the insulation decides. If the roof has a new vapour-open underlay or a wood fibre board over the rafters, the build-up is vapour-open and a retarder is usually the safer choice than a barrier. If there is solid boarding with bitumen felt over the rafters, or sheet metal on solid boarding, the outer side is closed. The result is a vapour-closed build-up, which must not take on moisture from inside, and the inner layer has to be genuinely tight. In both cases the build-up is decided by a moisture calculation, not by a catalogue.
The membrane on the inside has a second, more important job: it forms the airtight layer. Diffusion carries only a small amount of moisture across the whole area. Through a single untaped joint or an unsealed cable penetration, however, warm air flows and brings disproportionately more water with it. That water condenses on the first cold surface, usually the underside of the underlay or the boarding.
Which insulation material for the roof?
Materials are most often compared by thermal conductivity. In a roof, though, it matters just as much how the material fills irregular bays between old rafters, how it behaves when damp and how it protects the attic from summer overheating.
| Material | Where it fits | Strength | What to watch |
|---|---|---|---|
| Mineral wool | Between and under rafters, loft ceiling | Non-combustible, flexible batts fill the bay well | Cut oversize, do not compress, leave no gaps at the rafters |
| Wood fibre insulation | Batts between rafters, boards over rafters | Slows summer overheating of the attic, vapour-open | Combustible, thicker and dearer at the same U-value |
| Blown cellulose and loose-fill insulation | Loft floors, closed cavities | Fills corners and uneven spots without joints | Needs an experienced installer and the right density, otherwise it settles |
| PIR boards | Over rafters, thin layer under rafters | High thermal resistance for little thickness | A rigid board cannot fill an irregular bay; with aluminium facing it is almost vapour-closed |
| Sheep wool | Between rafters, ecologically minded projects | Pleasant to install, buffers moisture | Moth protection, higher price, a proven product |
| Spray PUR foam | Exceptionally, only with a design | Fast application, fills awkward shapes | Hides the timber, hampers inspection and later removal |
| Reflective foils | At most as a supplement | Low weight and thickness | Advertised equivalents to thick insulation do not hold in a real build-up |
Spray foam on a timber roof
Spray PUR foam is sold as a quick, membrane-free solution. On a timber roof, however, it carries real risks. Foam sprayed directly onto rafters and the underside of boarding or underlay covers the timber, so leaks or rot stay invisible for a long time. Closed-cell foam holds moisture against the timber, while open-cell foam needs a vapour retarder on the inside like any fibrous insulation. The result depends on site conditions and the applicator's skill, and at the next re-roofing the foam is very laborious to remove from the timber. On a timber roof I therefore specify it only exceptionally and with a moisture calculation.
Reflective foils
Reflective insulation is often promoted as a replacement for several centimetres of wool. Such equivalents come from conditions that do not occur in a roof build-up. A shiny surface reflects radiant heat only when it faces a still air gap and stays clean, and the thin foil itself has little thermal resistance. It is also usually almost vapour-tight, so in the wrong place in the build-up it acts as a vapour barrier on the cold side. As a supplement with a ventilated gap it can make sense; as a replacement for insulation it does not.
Where do failures occur?
Almost every problem I deal with in insulated roofs starts in a detail, not in the field of the roof:
- Condensation under the underlay. Moist indoor air gets into the insulation through a leak and water condenses on the underside of the membrane or boarding. It shows as stains on the plasterboard, often only after the first winter.
- A gap at the wall plate. At the foot of the roof the roof insulation meets the wall insulation, and both trades stop there. If they are not joined, a cold strip runs along the perimeter and mould appears in the corner between wall and slope.
- Untaped membrane joints. Overlaps without tape, staples left unsealed, a membrane merely laid against a plastered wall instead of being bonded with sealant or tape.
- Penetrations. Cables, soil vent pipes, the chimney and roof windows without proprietary collars and connection flashings.
- A blocked ventilation gap. In a cold build-up, insulation pushed up against the membrane or boarding, or no air inlet at the eaves.
- Short insulation. Batts cut to exact size without oversize, which over time pull away from the rafter and leave a gap along its whole length.
In what order with roof, facade and windows?
Roof and facade meet at the eaves, so they need to be designed together even if they are built in different years. Insulating the wall shortens the roof overhang, and if the overhang can be extended during re-roofing it comes out cheaper than a later fix from the facade scaffold, as I describe in the article on choosing a facade insulation system. Roof windows are replaced together with the covering, other windows before or with the facade, in more detail in the article on window replacement in a renovation.
Inside, the order is: first the services planned into the void under the membrane, then the membrane with taped joints, an airtightness test before the plasterboard goes up, and only then the linings. How the test works is covered in the article on the blower door test. The full order of measures on the envelope, ventilation and heat source is set out in the article on the order of steps in a deep renovation.
If you plan to draw state support, roof insulation is one of the envelope measures whose scope follows from the energy audit and the project documentation. Do not start work before the contract is signed, otherwise the costs generally cannot be reimbursed. The programme mechanism is described in the Obnov Dom subsidy guide.