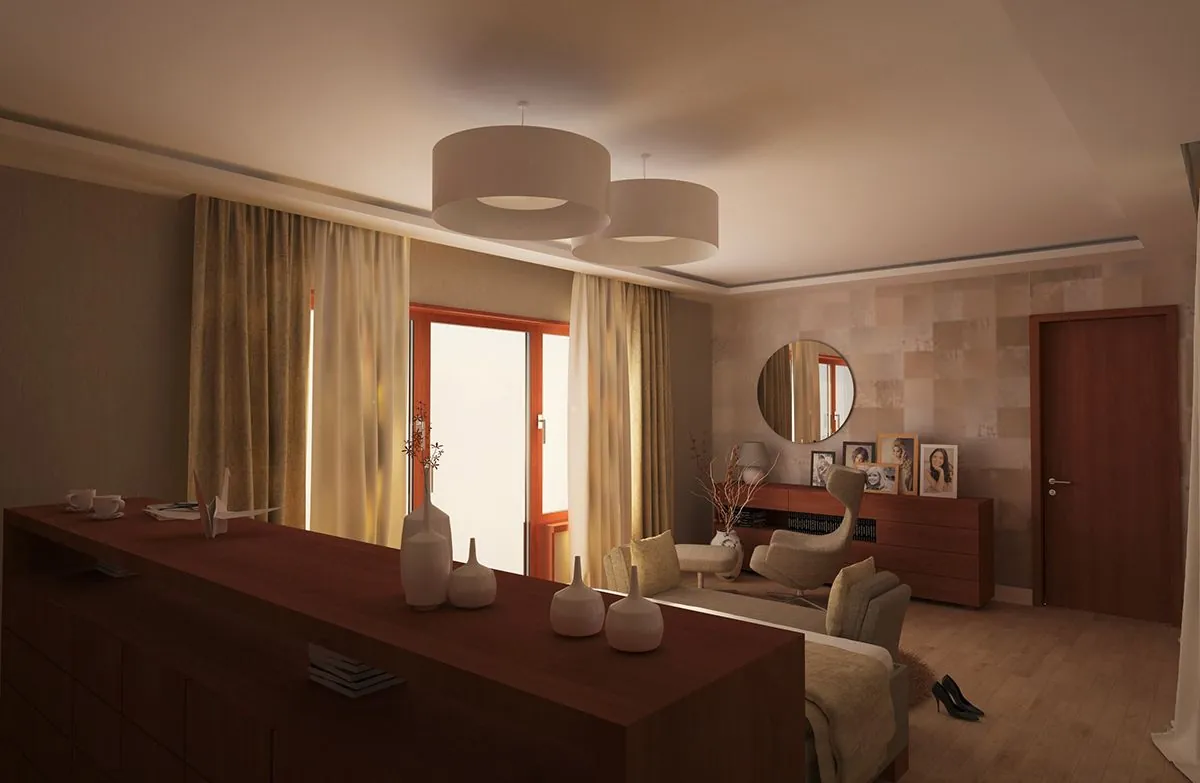
One fitting in the middle of the ceiling is not a lighting design
The most common living room I see in Slovakia has exactly one thing in it: a fitting in the centre of the ceiling and a switch by the door. The room therefore has two states, on and off, and in the on state it looks the same at ten at night as it does at six in the morning. Light falls from above into the middle, so the walls stay dark, the corners disappear, and anyone sitting in a chair with a book gets the shadow of their own head on the page.
The fix is not a more expensive fitting. The fix is an interior lighting plan, meaning a decision about how many sources of light a room has, where they are, what each of them does, and how they can be controlled separately. This article follows that decision: first the three layers, then room by room, then the two numbers worth asking about, and finally the deadline by which all of it has to be settled.
Three layers: ambient, task and accent
The ambient layer is the general, even level of light that lets you move around safely and see faces. It is not meant to be bright. In a living room it usually sits comfortably somewhere in the 100 to 300 lx band, considerably less than most people expect, and what decides the result is evenness, not wattage. Well distributed warm light at a lower level is always more pleasant than one strong source in the middle.
The task layer is light aimed at a specific surface where something is done: the kitchen worktop, the page of a book, the mirror, a desk. The level here is higher, usually several times the ambient one, but direction matters more than the number. Task light coming from behind a person's back is not task light, it is a shadow.
The accent layer does almost nothing for visibility and everything for how the room reads after dark. It is light on a wall, on a bookcase, on a picture, on a stone-clad surface. Without it the space feels flat and closed in the evening, because the eye has nothing from which to read depth.
And now the essential part: the layers need separate circuits and separate control. If everything comes on with one switch at once, these are not three layers, they are one more expensive layer. The whole idea stands or falls on being able to combine and dim them independently of each other.
Room by room
Living room
A low overall level that can be dimmed, plus a lamp by the chair that genuinely lights the book rather than the ceiling, plus one accent on a wall or a bookcase. That is three things and it is three circuits. A living room with only the first is a room you can sit in but not read in; a living room with only the third photographs well and lives badly.
Kitchen
The kitchen is the one room in the house where task light is a safety matter, because this is where the knife work happens. That is why the under-cabinet fitting exists, most often a linear LED strip in an aluminium profile below the wall units: it lights the worktop from a point in front of the person standing there, not behind them. The classic mistake is the exact opposite, a row of recessed downlights down the middle of the ceiling behind the cook, so that their own body throws a shadow onto the spot where the knife is. Over the worktop it makes sense to aim for roughly 300 to 500 lx, while the rest of the kitchen needs markedly less.
Dining table
Light the table, not the room. A pendant over the table should hang low enough to lay light on the top while staying out of the eyes of people seated, and it should have a dimmer of its own. Its position follows the table, not the geometric centre of the room, which means the ceiling outlet has to be in the right place before the table is even bought.
Bedroom
Two lights, one on each side of the bed, switched at the bed and not at the door. That is the core of it and also the most frequently unmet requirement. The fitting should be shielded so that someone lying on their back cannot see into the source: a wall light directed downwards or a lamp with an opaque shade solves it, a bare source in the ceiling does not.
Bathroom
Light belongs beside the mirror, not above it. A source placed above the mirror throws shadows into the eye sockets and under the chin, precisely where a person looks while shaving or putting on make-up. Two vertical sources flanking the mirror light the face from the side and cancel that shadow. A ceiling fitting is then enough as a supplementary ambient layer.
Stair and hall
Here the subject is safety and night-time orientation. What matters is that the nosing of every tread reads clearly, which means light from the side or from above along the flight, not glare into the eyes of the person coming up. A hall tolerates a low level and benefits greatly from a night mode that is dim and warm.
| Room | Layers it needs | Colour temperature character | Classic mistake |
|---|---|---|---|
| Living room | Dimmable ambient, task light at the chair, accent on a wall | Warm, around 2700 to 3000 K | One fitting in the middle and nothing else |
| Kitchen | Task light over the worktop, ambient, a small accent | More neutral over the worktop, 3000 to 4000 K | Downlights behind the cook's back |
| Dining table | Task light over the table, supplementary ambient | Warm, around 2700 to 3000 K | A fitting centred on the room instead of the table |
| Bedroom | Low ambient, two lights at the bed | Warm, around 2700 K, dimmed in the evening | Ceiling light switched only at the door |
| Bathroom | Task light at the mirror, supplementary ambient | Neutral, 3000 to 4000 K, Ra 90 and above | A single source above the mirror |
| Stair and hall | Low ambient, a separate night mode | Warm, around 2700 K | Glare into the eyes and a single level |
The two numbers worth asking about
Colour temperature in kelvins describes the colour of the light itself. Lower values are warmer and yellower, higher values cooler and bluer. Living spaces and bedrooms suit warm white around 2700 to 3000 K, kitchens and bathrooms suit a more neutral 3000 to 4000 K where accuracy matters. And the rule most installations break: do not mix colour temperatures within one room. A 2700 K pendant next to 4000 K downlights in the same ceiling looks like a mistake because it is one. A gradual shift between adjacent rooms is fine, a contrast within a single view is not.
The second number is the colour rendering index, written as Ra or CRI. It says how faithfully a source shows the colours of surfaces. At a low Ra, timber looks dead, brick goes brown, and food on the worktop looks unappetising, even when there is plenty of light. Wherever you chose materials carefully, meaning the kitchen, the mirror and the living room, ask for Ra 90 and above. It is one of the few items in a house where a small surcharge changes the impression of a whole room.
Treat both numbers as design guidance rather than binding values prescribed for dwellings. They are a starting point that gets tuned to the space, the surfaces and the way people actually live in them.
What to light with, and what it costs later
The price of a fitting is not only its price tag. Every type asks something of the ceiling and takes something away from your future freedom. Recessed downlights need depth in a suspended ceiling and punch through it, while a lighting cove needs a dropped panel or a recess that has to be designed together with the ceiling and cannot be added afterwards. A floor lamp, by contrast, is the one fitting you can move a year later, which makes it more valuable in a living room than it looks.
| Fitting type | What it is good at | What it costs in the ceiling | Flexibility later |
|---|---|---|---|
| Recessed downlight | Aimed light, an unobtrusive ceiling | Requires a suspended ceiling and pierces it | Low, the position is fixed for good |
| Surface and pendant fitting | Light plus a visible object in the space | Only an outlet, no build-up depth | Medium, swapping yes, moving no |
| Linear LED in a profile | Continuous task light under cabinets | Nothing in the ceiling, but a cable into joinery | Medium, it is tied to the furniture |
| Lighting cove | A soft ambient layer with no source in view | A dropped panel or a recess | Very low, it is a construction detail |
| Wall light | Accent, and light at the bedside | An outlet in the wall at an exact height | Low, the outlet height is fixed |
| Floor and table lamp | Reading and an extra layer | Only a socket in the right place | Highest, it moves whenever you like |
This has to be decided before electrical first fix
This is the part clients regret most. A circuit that was not drawn simply is not there, and adding it afterwards means either chasing the walls or a cable run on the surface. Three things therefore have to be settled before first fix: fitting positions, the split into circuits by layer, and the switching plan, meaning what is controlled from where.
The switching plan is the part that bites hardest. A switch at the bed, a switch by the chair, two-way switching on the stair and a separate switch for the under-cabinet light cost a few tens of euros at shell stage and are practically unsolvable once the house is finished. The fitting itself can be chosen a month before you move in; the outlet and the cable cannot.
Daylight belongs to the same decision. I design artificial lighting only once I know where daylight lands in the room, because that is exactly where artificial light is not needed for most of the day. Splitting circuits by the depth of the room from the window is a cheaper way to save energy than any sensor.
Dimming, scenes, and where smart control earns its cost
Dimming is the cheapest way to turn one room into several. The same living room cleans at full level and watches a film at a third of it. The condition is that the fitting, the driver and the dimmer are compatible, which is again a decision made before installation rather than after it; dimming added later is the commonest source of flicker.
Lighting scenes go a step further: one button sets several circuits at once to stored levels. Three or four are enough for an ordinary house, for example evening, film, cleaning and night. More scenes than switches means nobody remembers them.
Smart control earns its cost where the alternative is five switches in a row, where scenes change through the day, and on external lighting tied to dusk. It does not earn its cost where it replaces one switch with one app: that adds a step and removes the one form of control that also works for a visitor and when the wifi drops. A good lighting design has to be operable by hand from the wall; everything beyond that is extra convenience.